SeisTrans
NOTE: This page is depricated. Seistrans is no longer installed on any of the groups computers. If one is interested in converting from an image to a segy section please see the Tif2segy page.
Seistrans is used to convert 1-bit images to a segy file. This is useful becuase you can then use conventional seismic interpretation software with old data.
- First ensure that the image of interest can be read into Cameleo. These need to be 1 bit. These are easily created by Photo-paint (the Gimp doesn't work for this).
- 1-bit images made by Caldera graphics are difficult to read. They fail in most programs, so its is a matter of trail and error to find one that works (!). It reads the tiff images created by Caldera (eg: the Farnella tiff images).
- Run Cameleo from Fox (Linux), by typing cameleo in a command prompt (Cameleo is in the path). This will bring up the Cameleo window, which is a container for many progams.
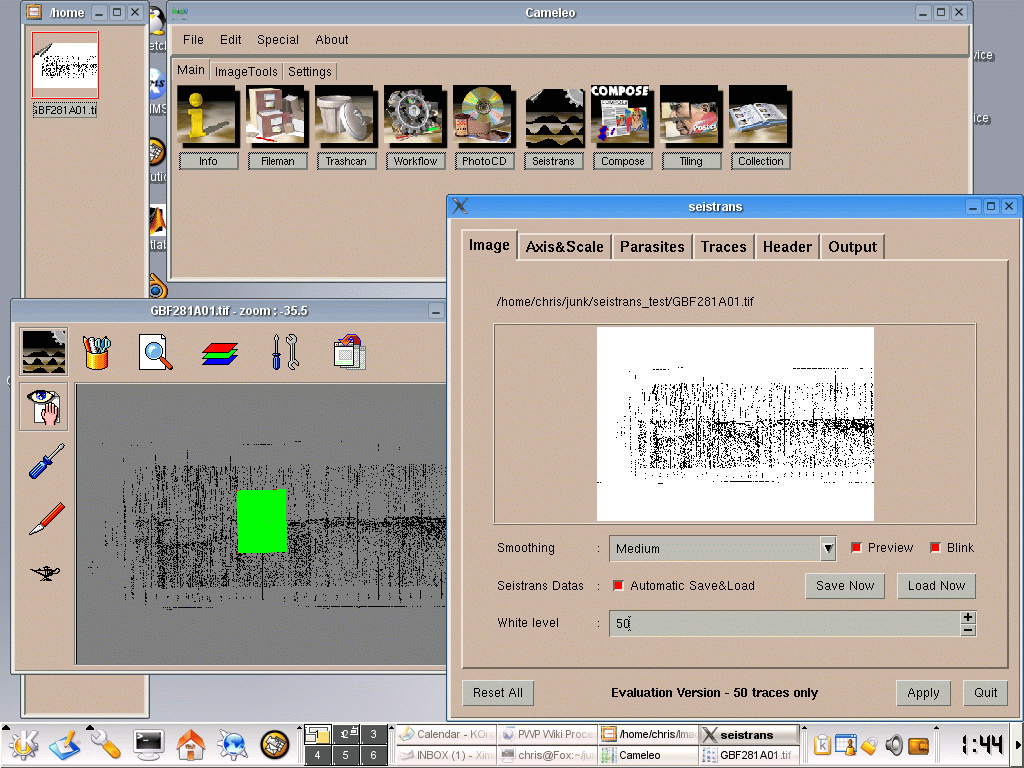
- double click on SeisTrans icon. This will bring up the SeisTrans program, with a blank window.
- go back to the cameleo window, and open the image (file; open). This will create a thumbnail in the narrow window on the left.
- Drag and drop the image from the window on the left, to the SeisTrans window. If this works, the image will appear in the window. If not, an error will appear.
- the image will appear in the narrow window on the left (see screenshot).
- double click on the icon in the left window. This will make yet another window appear, which is used for defining the axes.
- Use the magic lamp icon to define the x and y axes. Click on the lamp icon, and select the first tool on the left (with 2 arrows). Use this to define a rectangular region of interest on the image. The first click should be for the upper left corner, the second for the lower left, and the third for the upper right corner. This will create some setting in the SeisTrans window, under the axes&scale tab.
- It may be necessary to set the "sample step (ms)" to a negative number, so the time axis increases from zero upwards, instead of using negative time values.
- Define the trace - x axis realtionship in the traces tab. This is important, so more will be written on it.
- Optionally set the parameters for the "parasites" and "header" tabs. Set the options for output file in the "output" tab.
- Once all parameters are set correctly, click the "apply" button on the bottom. This will make an IBM SEGY* file.
- It is important to note that the binary header set for the output file is incomplete, therefore causes errors in Seismic Unix and Claritas. This can be overcome in Claritas by manaully setting some parameters in the binary header. Set these in the SET_BINHD field in the READSEGY module. Use Calritas's segy_analyser program to determine what these setting should be. We should talk to the company about these header values.
- Once you can read the file into Claritas, make sure the parameters are giving the desired result. You can now write out a standards compliant SEGY file.


